
Last Updated on 20.05.2025 by Danylo T
Email plays a vital role in our everyday communications, both personally and professionally. However, managing a cluttered inbox can often seem overwhelming. Microsoft Outlook provides a handy solution with its “rules” feature, aimed at helping you sort through your incoming messages more effectively.
In this guide, we’ll explore what Outlook rules are, highlight their benefits, and show you how to set up rules in Outlook to achieve an organized inbox. You’ll also find answers to the most common questions about rules in the FAQ section.
If you’re ready for a more connected Outlook experience, explore our Office 365 integration.
What are Outlook rules?
Outlook rules act as automatic commands that your email program carries out on emails as they arrive or are sent, guided by the criteria you set. Whether it’s directing email messages from a certain sender address straight to a specific folder, notifying you about emails that match certain conditions, or even deleting emails automatically, rules streamline your email handling. Essentially, they declutter your inbox and highlight the messages that matter most.
For the Microsoft community, particularly those who rely heavily on Outlook for their daily communications, mastering rules in Microsoft Outlook is a game-changer in managing email efficiently and effectively.
source: Support Microsoft
Benefits of using a rule in Outlook
Still not convinced you might need to set up rules in Outlook? Let’s briefly discuss the benefits of doing so.
As you can see, the primary benefit of using Outlook inbox rules is the significant improvement in inbox management. What exactly will you get out of it?
Rules can help you:
- Reduce inbox clutter: Automatically move less important emails to specific folders for later review.
- Highlight important messages: Use rules to flag, categorize, or alert you about emails from critical contacts.
- Save time: Automate repetitive tasks, such as forwarding certain emails to another account or colleague.
- Improve organization: Create a structured system to categorize and store emails, making them easier to find later in your message list.
How to create rules in Outlook from a message
Well, let’s get to work? Here’s a short instruction on how to create rules in Outlook:
Step 1: Open Outlook and navigate to your email inbox.
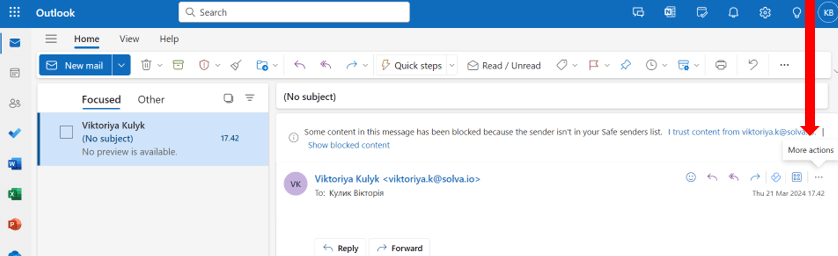
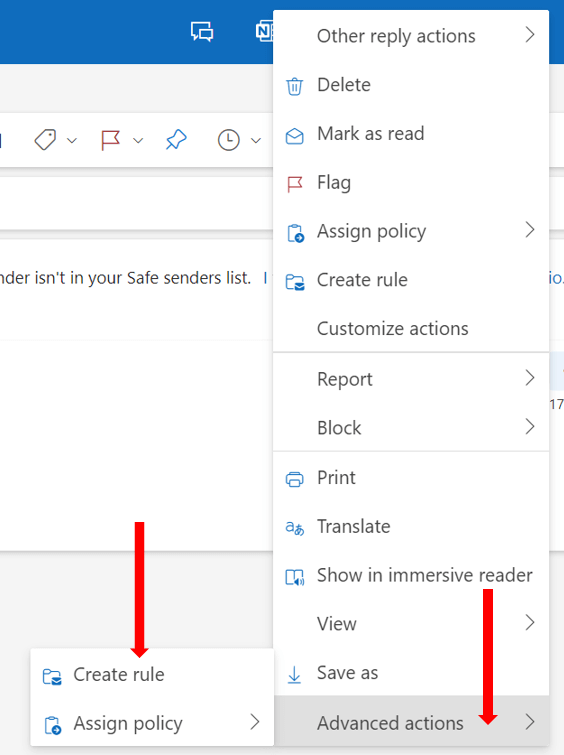
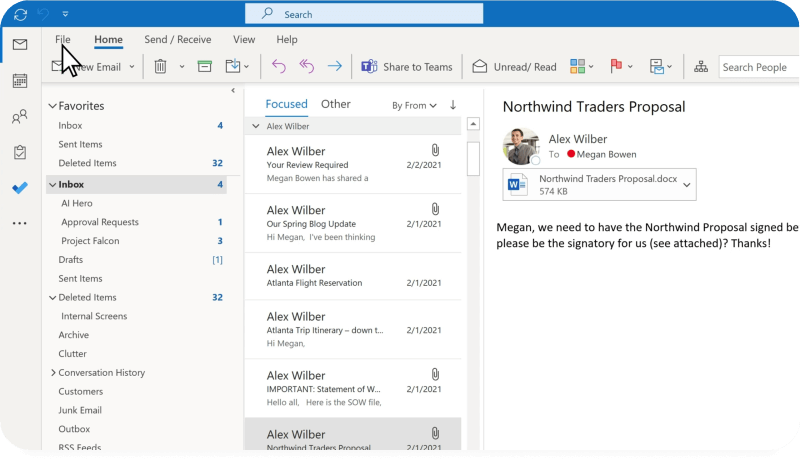
Step 2: Find an email from which you want to create a rule. Right-click on the message and choose “Advanced actions” > “Rules” > “Create Rule.”
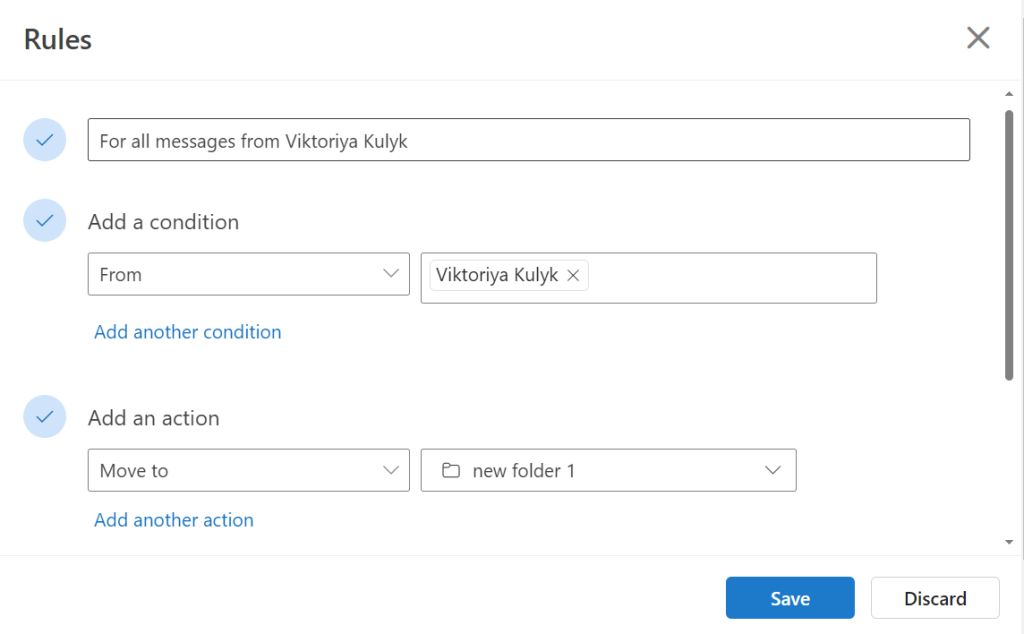
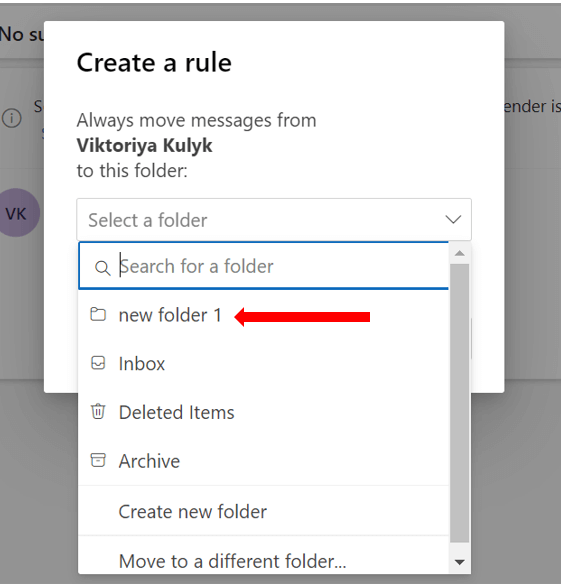
Step 3: Specify the conditions for the rule. For example, you can choose to apply the rule to all emails from the sender.
Select conditions on which this rule is triggered and actions that will be followed in the Create Rule dialog box when it appears. You can activate this rule on message by sending an email from a certain sender address, and you may select to add these messages to the chosen folder rules in Outlook. Make sure you carefully select conditions best suited to your requirements, depending on the sender address, special keywords, or other criteria.
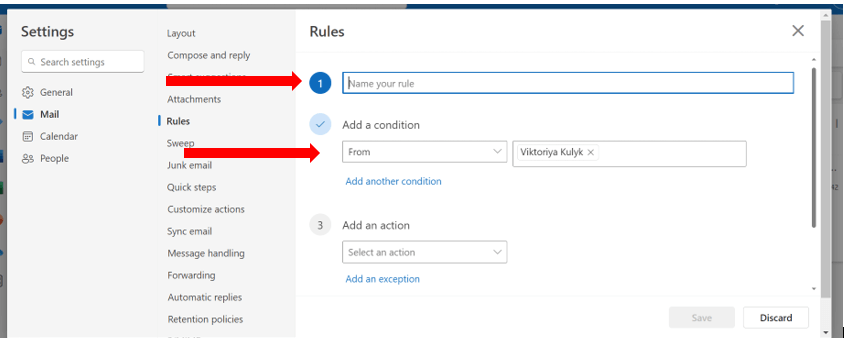
Step 4: Choose the action you want Outlook to take when an email meets these conditions, such as moving the message to a specific folder.

Step 5: Review and save your rule.
Step 6: Save your rule
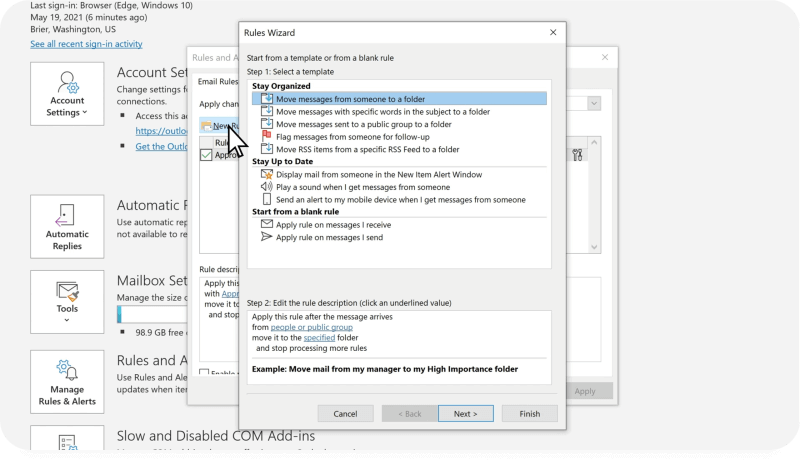
How to set up rules in Outlook from a template
Outlook also provides templates for common rules, which you can customize to fit your needs. Here’s how to create rule from a template:
- Open Outlook and click the “File” tab > “Manage Rules & Alerts.”
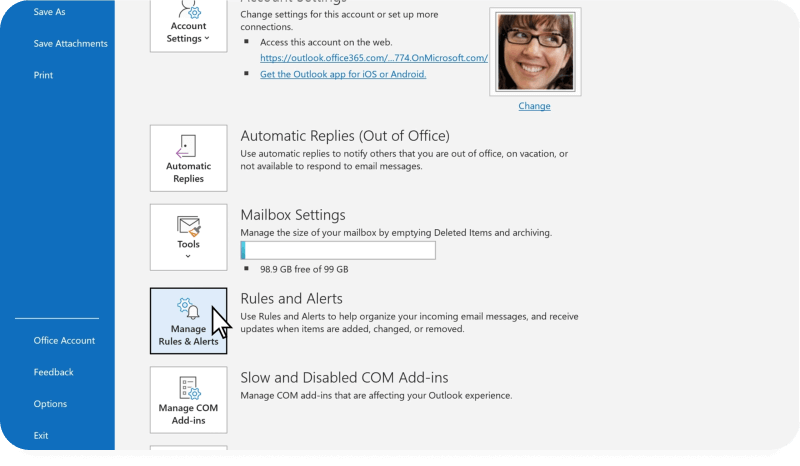
2. In the Rules and Alerts dialog box, click Options. This option allows you to import a list of rule templates to use when creating your customized rules.
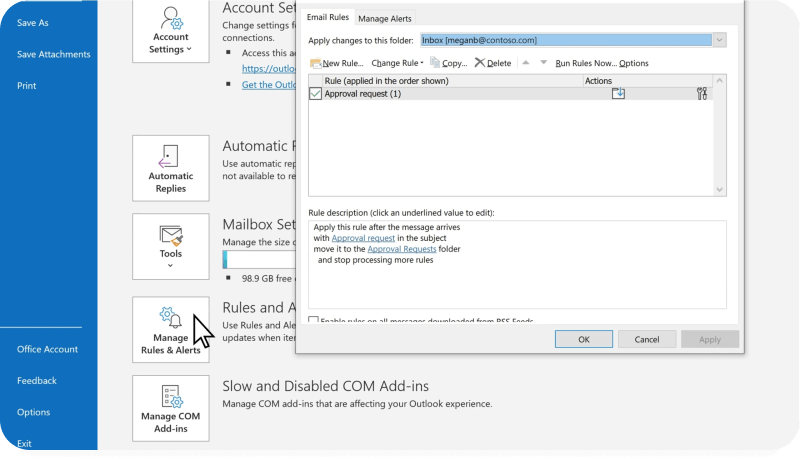
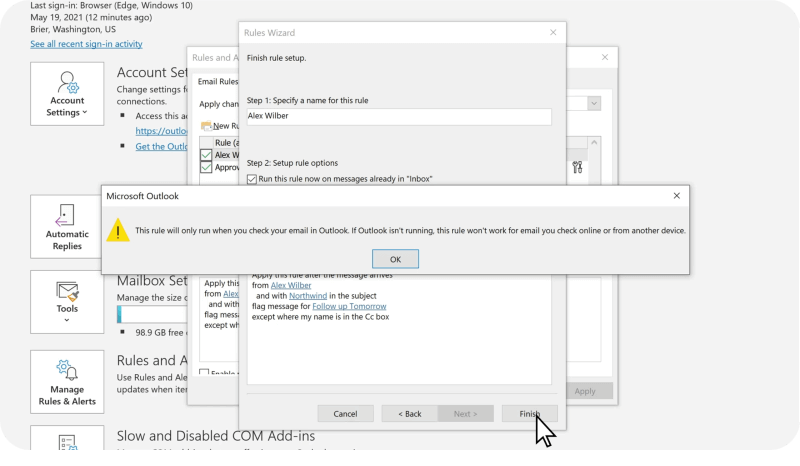
3. You can choose your template or import an existing rules file. If you want to customize this rule, click Next after selecting the rule and following the wizard. To ensure a smooth automatic process, please check that your email settings are compatible with the rule configuration.
4. Next, click the Finish button to create the rule in Outlook after you customize it. Outlook will now add this rule per email to your current set of rules.
Managing your rules in Outlook
Edit rules in Outlook
To modify an existing rule, follow the steps below:
- Open Outlook and click the “File” tab > “Manage Rules & Alerts.”
- To edit the rule, click the Edit button in the Rules & Alerts dialog box. This opens the option to modify the rule. Check the box next to the rule you’d like to edit.
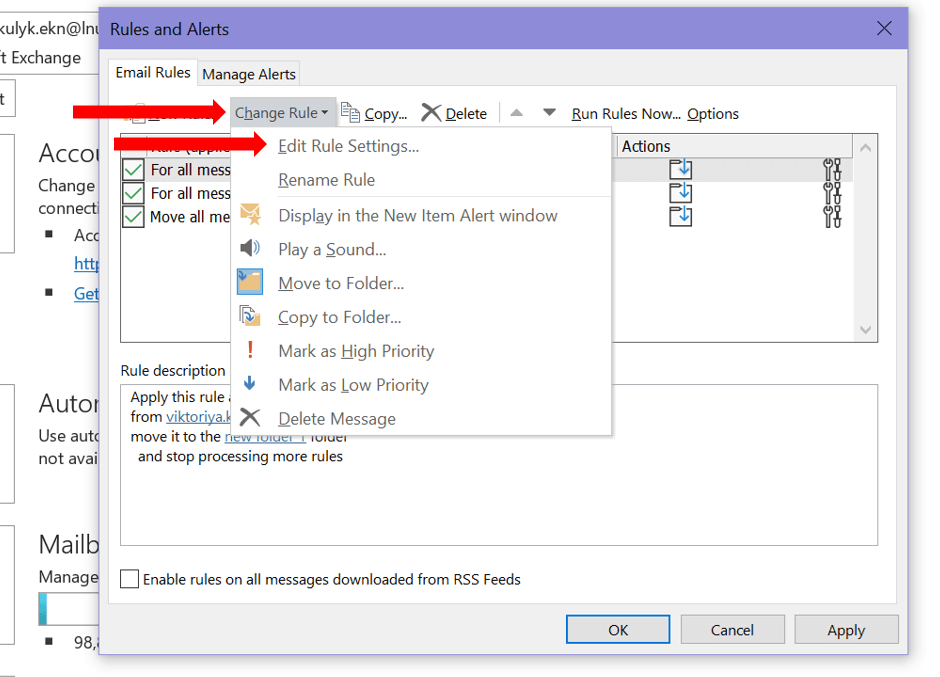

That’s how you change rules in Outlook.
With the advanced editing features, you can fine-tune your email rules without a hassle. Use the table of contents for a quick look at all your rules, so you can easily update or delete them whenever you need to.
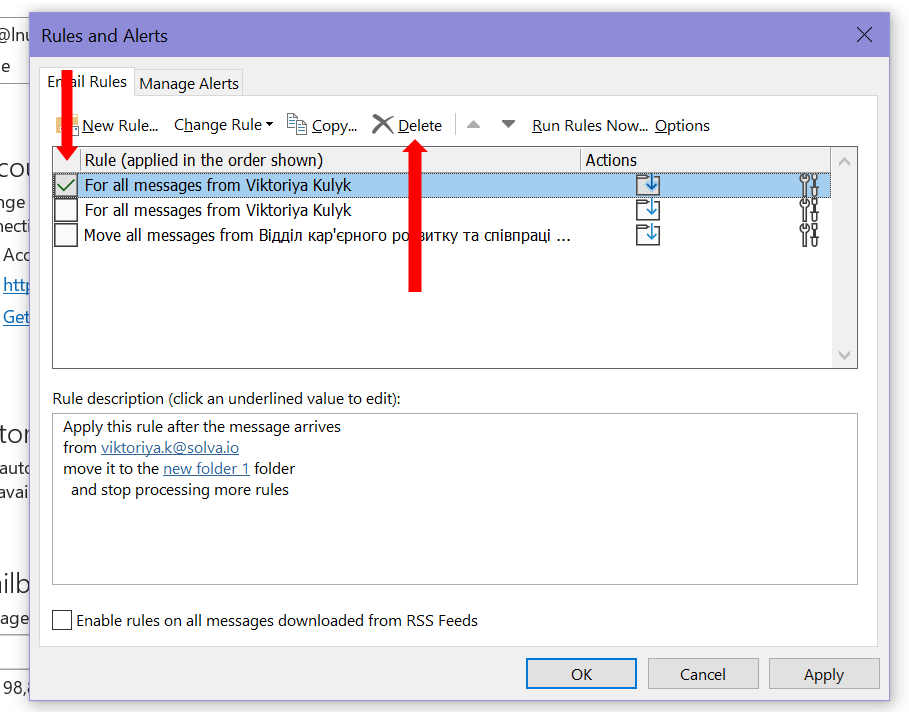
Delete Outlook rules
If you want to keep only some basic rules and get rid of the rest, follow these steps:
- Open Outlook and click the “File” tab > “Manage Rules & Alerts.”
- Choose the rule you want to delete in the Rules & Alerts dialog box. Outlook will prompt you to confirm that you want to delete the rule. Once you confirm the deletion, the rule will be removed from your list of active rules.
Export an Outlook rule
Outlook rules can be exported to and imported from a file. For example, you can export rules to a file, send that file as an email attachment, or place it on a network share (or local share) for backup purposes or to share with other email users.
To export an Outlook rule:
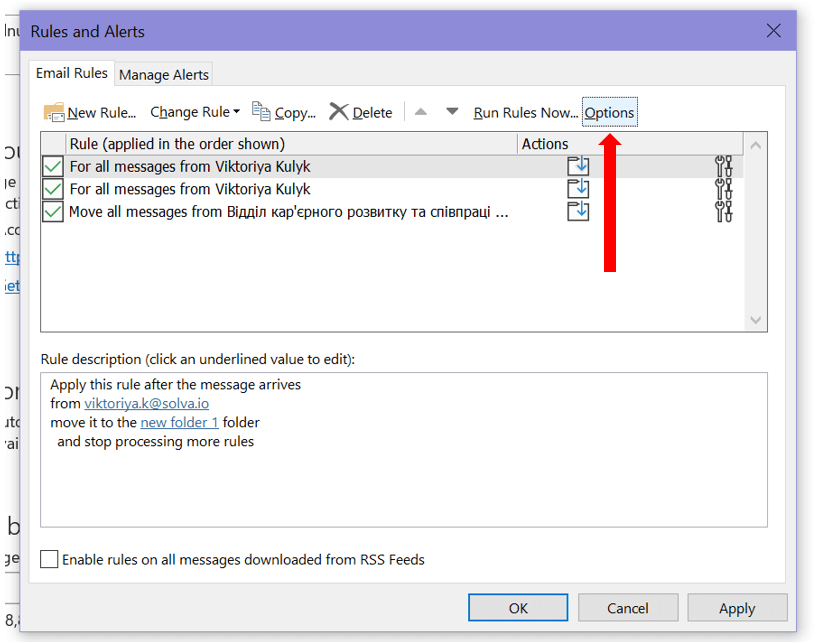
- Open Outlook and click the “File” tab > “Manage Rules & Alerts.”
- Click Options.
3. Next, click Export Rules.
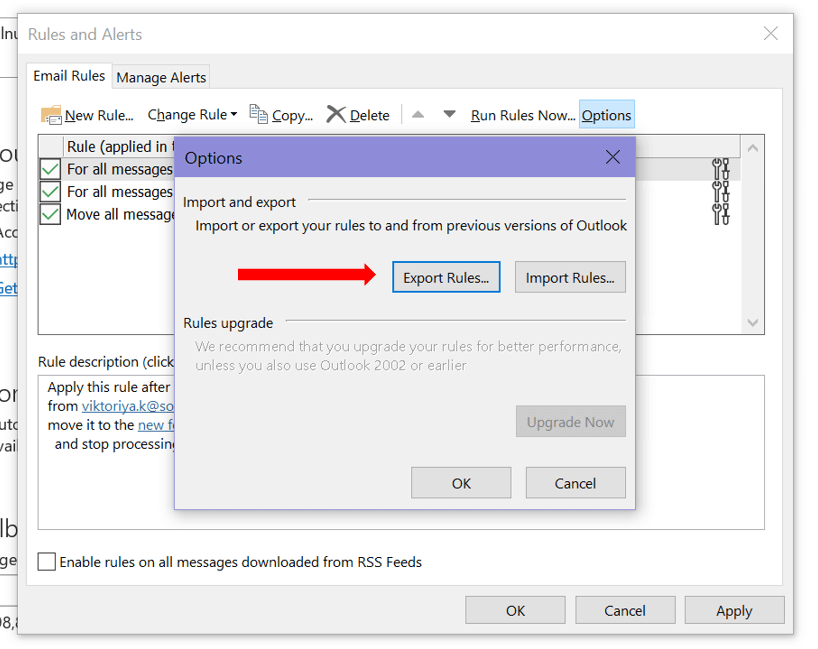
4. Select the folder where you’d like to save the rules file, and then name the file.
5. Click Save.
Import an Outlook rule
If you think about setting up rules in Outlook that were given to you by a friend or colleague, you can import their rules.
To import rules in Outlook:
- Open Outlook and click the “File” tab > “Manage Rules & Alerts.”
- Click Options.
- Next, click Import Rules.
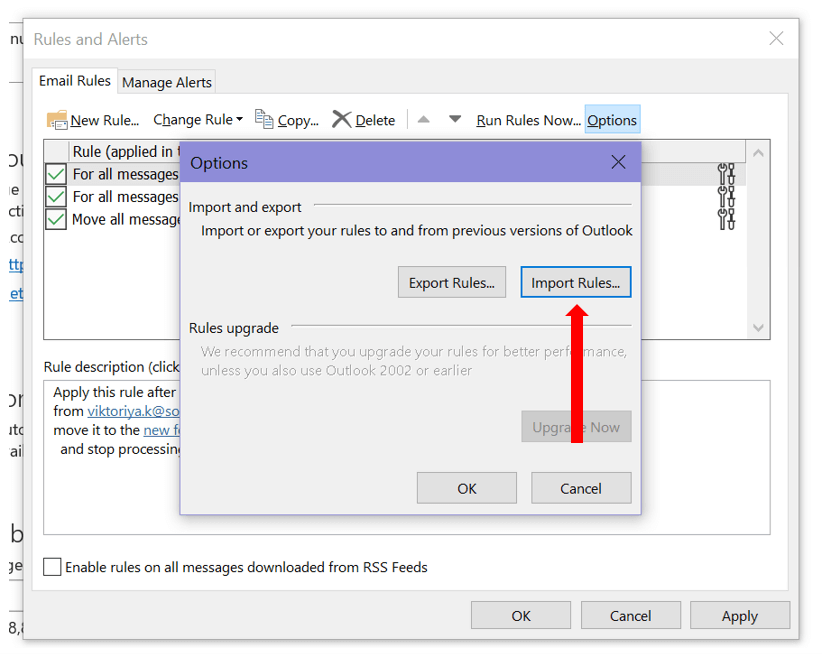
4. Select the rules file that you want to import and click Open. Note that an additional window for managing the rule import process may open during the import process. So read carefully and follow the instructions.
How to apply rules in Outlook
Applying rules is automatic. Once set up, Outlook takes actions on emails that match the specified criteria. For example, it can move the email to a specific folder (e.g., spam emails), mark emails as important, or forward a message to a different email address.
You can always run rules manually on existing emails by selecting “Run Rules Now” from the “Manage Rules & Alerts” window.
Master email organization with Outlook’s rules and automation
Finally, we will show you how to automatically sort emails, streamline repetitive tasks, and enhance your productivity through advanced automation techniques.
Discover how to effortlessly manage your inbox with Microsoft Outlook’s Rules, Quick Steps, and Zapier integration.
Rules to automatically sort emails
As you may already know, creating rules in Microsoft Outlook can automate actions on email, such as organizing messages already in the current folder. Sorting emails into folders based on sender, subject, or keywords can drastically improve your email productivity and management. For instance, creating a rule to move all newsletters into a “Read Later” folder can keep your primary inbox focused on immediate tasks.
Now, let’s create a new rule to automatically sort emails.
Right-click on the email and choose Advanced actions > Create rule. Initially, Outlook suggests creating a rule that moves messages from the sender to a specific folder. To tailor your rule further, select More options in the Create a rule dialog, then confirm with OK. Within the Create a rule interface of Microsoft Outlook. In the subsequent Rules dialog, you’re presented with numerous customization options for your email rule:
- Name your rule: Assign a succinct, descriptive name to your rule for easy identification and understanding of its function.
- Add a condition: Specify the criteria an email must satisfy to trigger the rule. This might include the sender’s details or keywords within the email, such as in the subject line or body text.
- Choose an action: Decide the outcome for emails that fulfill the rule’s condition. Outlook offers three primary action categories: Organize, Mark message, and Route.
- Include an exception (optional): Just as you can specify triggering conditions, you can define criteria that will exclude an email from being sorted automatically.
Finalize your setup by selecting Run rule now and saving with a click on Save.
Automate repetitive tasks
If you want to automate routine tasks, you can easily do it with Quick Steps in Outlook.
Imagine handling monthly project report submissions. The usual steps include reviewing reports, emailing them to the project management team, and setting a reminder to ensure a follow-up after two weeks.
Quick Steps in Outlook can simplify this process:
- Go to the Home ribbon and click on Quick Steps.
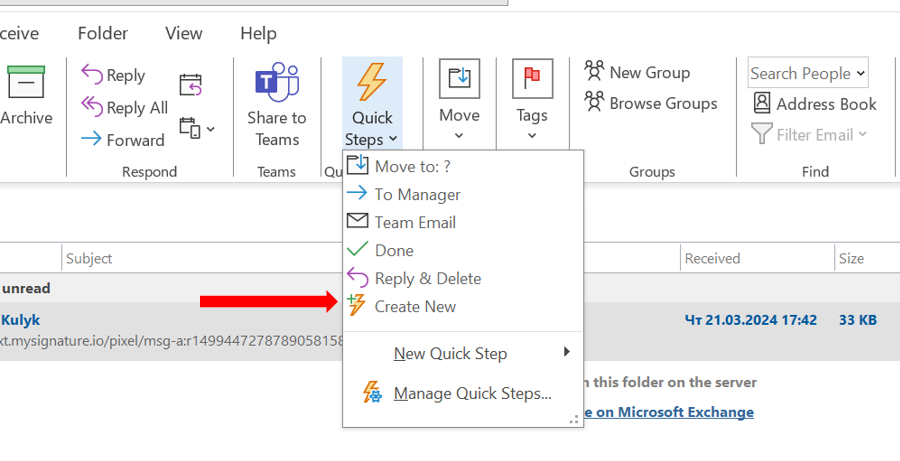
2. In the Quick Steps menu, select New quick step for customization options:
- Name your quick step for easy identification.
- Choose an action for what you want to achieve with the email, allowing for multiple actions.
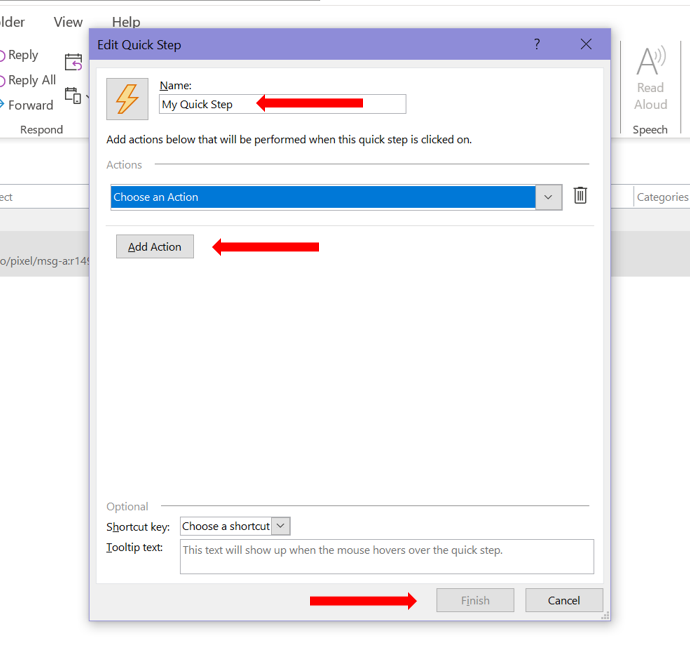
3. Click Save to apply your settings.
This setup enables the automation of sending emails and setting reminders in one click. To activate the quick step on an email, simply select it from the Quick Steps dropdown in the Home ribbon, where it appears by default for quick access.
Microsoft Outlook and Zapier automation
For even more advanced automation, you can integrate Outlook with Zapier. This allows you to connect your email to hundreds of other services and automate workflows. For example, you could automatically create tasks from certain emails in a project management tool like Trello or Jira powered by issue templates, or log specific emails to a spreadsheet for record-keeping.
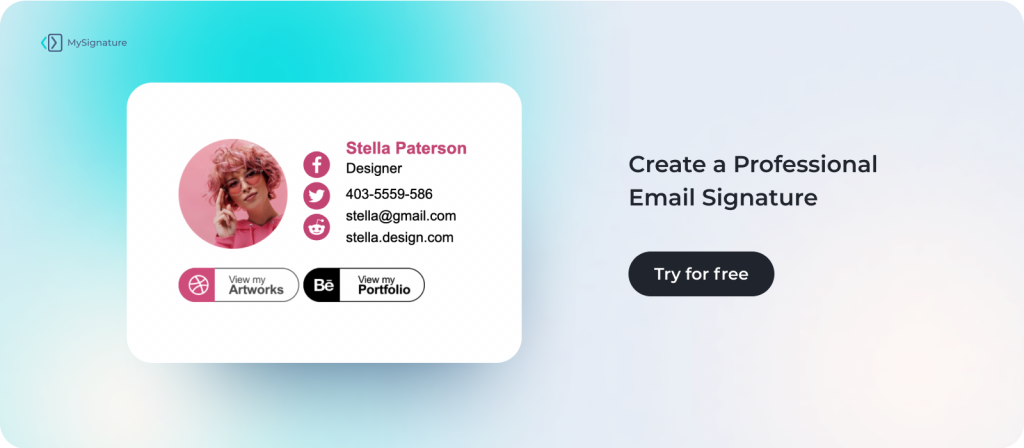
Creating email signature for Outlook
Now that you know a lot about creating rules in Outlook, let’s take a look at email signatures. Incorporating them into your emails is another step toward streamlining your communication.
Using signatures adds a layer of professionalism, making every message you send appear more polished and deliberate. They serve as a quick reference for your contact information, allowing recipients to easily reach out to you without having to search elsewhere. Signatures also reinforce your personal or brand identity, ensuring recipients instantly recognize who the email is from. By including promotional content or links, signatures can subtly serve as a marketing tool, driving awareness to your projects or services. Essentially, signatures transform every email into an opportunity to impress, inform, and engage your recipients.
Indeed, Outlook’s basic signature feature gets the job done. However, to really stand out, consider using HTML for your signature. It unlocks the door to creative designs, cool features, and a professional look that text alone can’t match. If you’re not sure where to start, this guide on creating an email signature for Outlook can walk you through the process and introduce tools that simplify design and setup. MySignature, for instance, makes designing HTML signatures easy and hassle-free. It’s the perfect way to add a personal or professional touch to your emails without needing to be a tech expert. Give it a try.
Setting up rules in Outlook: Final thoughts
Setting up rules in Outlook can change the way you manage kinds of items like emails, meeting requests, and unread messages, saving you time and increasing your productivity. By automating routine tasks, such as sorting email into specific folders, flagging important messages, and forwarding specific email to other email accounts, you can ensure that your inbox stays organized and manageable, even when you’re receiving a high volume of messages. Plus, the flexibility to customize these rules to meet your specific needs means you can tailor your email management strategy to fit your workflow, further increasing your efficiency.
With the added ability to edit, delete, and even import/export rules, Outlook provides a robust framework for keeping your communications streamlined and focused. Harness the power of Outlook rules and you’ll find that staying on top of your email becomes less of a chore and more of a seamless part of your daily routine, leaving you more time to focus on what’s really important in your work and life.
FAQ
Do I need to edit my Outlook rules when I reorganize file structure?
Yes, if you reorganize your file structure, it may require editing your Outlook rules, especially if they are set to move emails to specific folders. Updating rules ensures they align with the new organization and continue functioning correctly.
Is there an Outlook rule for spam?
Outlook will filter emails with a Junk Filter for spam, but you can enhance spam management by creating custom rules based on specific words often used in spam emails. If the default settings aren’t sufficient, consider setting up 2 or 3 rules targeting these common spam words, regardless of the sender when you create a rule in Outlook. This method can significantly reduce unwanted emails.
Are Outlook rules case sensitive?
When creating rules in Outlook that involve specific keywords or phrases, the case of the letters in these keywords or phrases does not affect the rule’s operation. This means that whether you input the keywords in uppercase, lowercase, or a mix of both, Outlook will treat them the same way and apply the rule accordingly.
How many specific words can be put in one rule in Outlook?
The specific limit on words per rule in Outlook isn’t detailed in the documents. Generally, Outlook supports multiple conditions in a rule, allowing for several specific words.
Can I use wildcards in Outlook rules?
Outlook doesn’t support wildcards in rules directly. For specific patterns like “Invoice [number] attached”, you’d need a workaround, such as creating separate rules for each condition due to Outlook treating multiple words as an OR condition. For more advanced pattern matching including wildcards, consider third-party tools.
Do Outlook rules only apply to my current inbox?
Outlook rules apply to all future messages, and you have the option to apply them to existing messages.
What are the differences between client-side vs server-side rules in Outlook?
Rules in Outlook operate either from the desktop application (client-side) or directly from the email server (server-side). The location where a rule runs is determined by Outlook itself; it defaults to server-side unless specific conditions or actions necessitate client-side processing. For client-side rules to function, Outlook must be open, explaining why some rules may not execute with Outlook closed. Here is an outline of conditions and actions that result in a rule being classified and run on the client side.