
Last Updated on 14.10.2024 by Vasyl Holiney
An image is the first thing that grabs the reader’s attention on the screen. It works the same way with email signatures. But what to do if it doesn’t display correctly and can hurt your reputation and branding?
You have created your signature template with all the required information and images. Your first initial email looks correct, but in some cases, when you reply or forward to the email, the images appear very large and not the required size for the signature template. Is it so?

If you faced this problem, read below why it can happen and how to fix it.
[ Article navigation ]
Why do images appear large after a reply or forward message?
Why does an email signature image change its size?
How to change DPI?
Photoshop
Paint.NET
Best email signature examples for inspiration
Why does an email signature image change its size?
This happens because some email clients ignore the Width and Height values set on the image(s) in the signature template and revert the image(s) back to the Native image size.
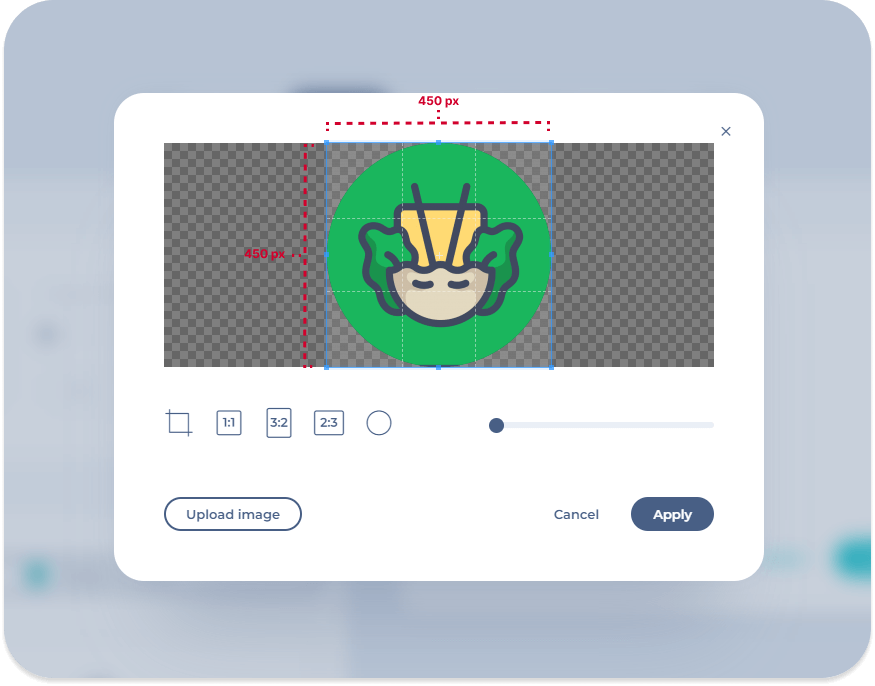
To prevent this issue, you must ensure that the images used within your signature design are created at the required size for the signature template.
For example, if your logo appears as a 150×150 image in the signature, then a 450×450 image must be uploaded. Advisable PNG format. The size should be up to 50kb. We recommend uploading an image with a high resolution and high DPI (300 px).
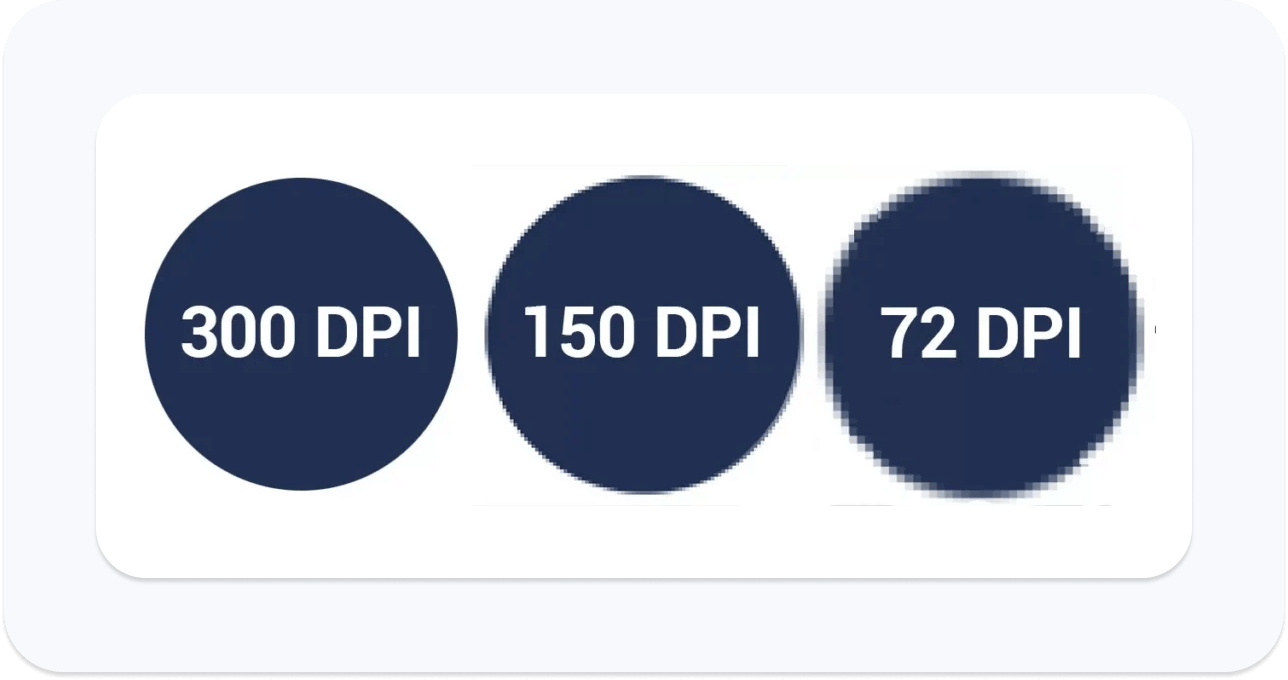
What is DPI?
DPI stands for Dots per Inch, referring to the number of ink droplets of printed dots contained within one inch. The more dots of ink per inch the picture has, the more detail you will see when printed.
The higher the DPI, the more detail and clarity will be present in an image.
source: Kotula
How to change DPI?
Instead of resizing the image in the signature template, you should create the image at the required size. This can be done using an Image Editing application such as Photoshop or Paint.NET.
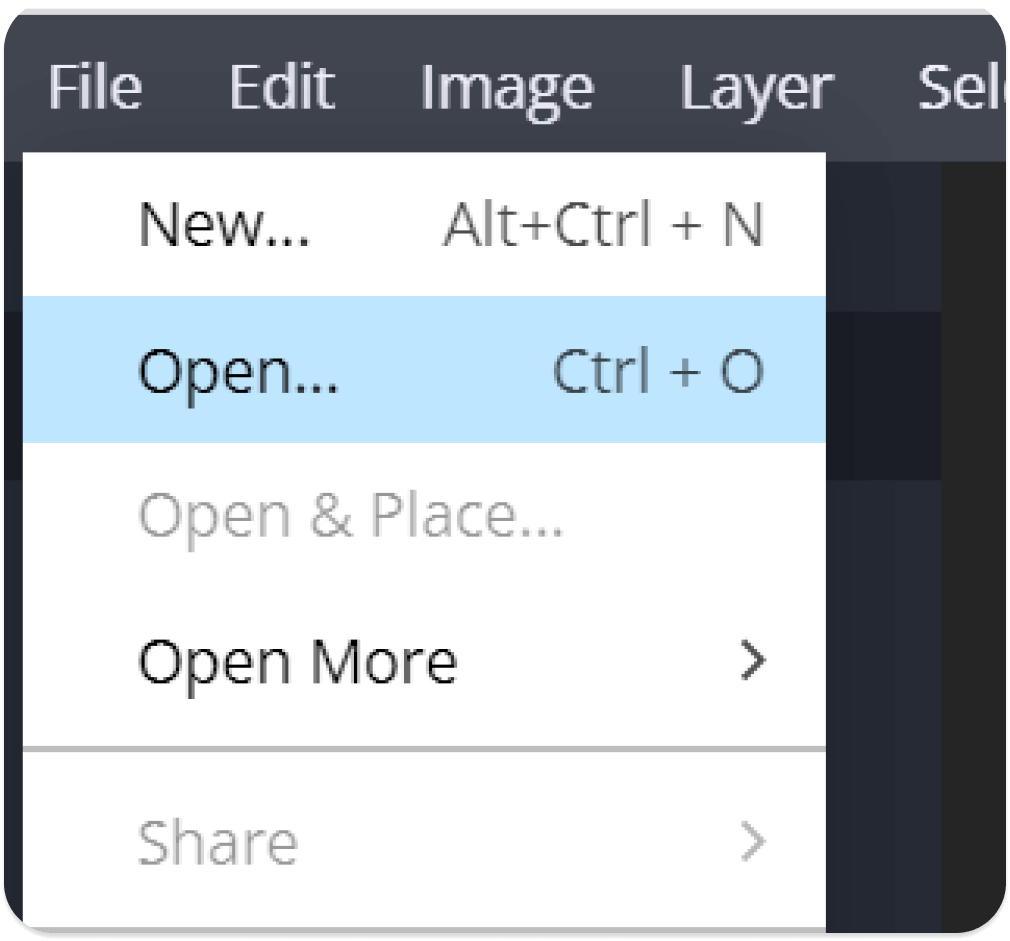
Change DPI using Photoshop
Step 1. Open the image.
Step 2. Click on Image and choose image size. Then change DPI to 300 pixels/Inch.
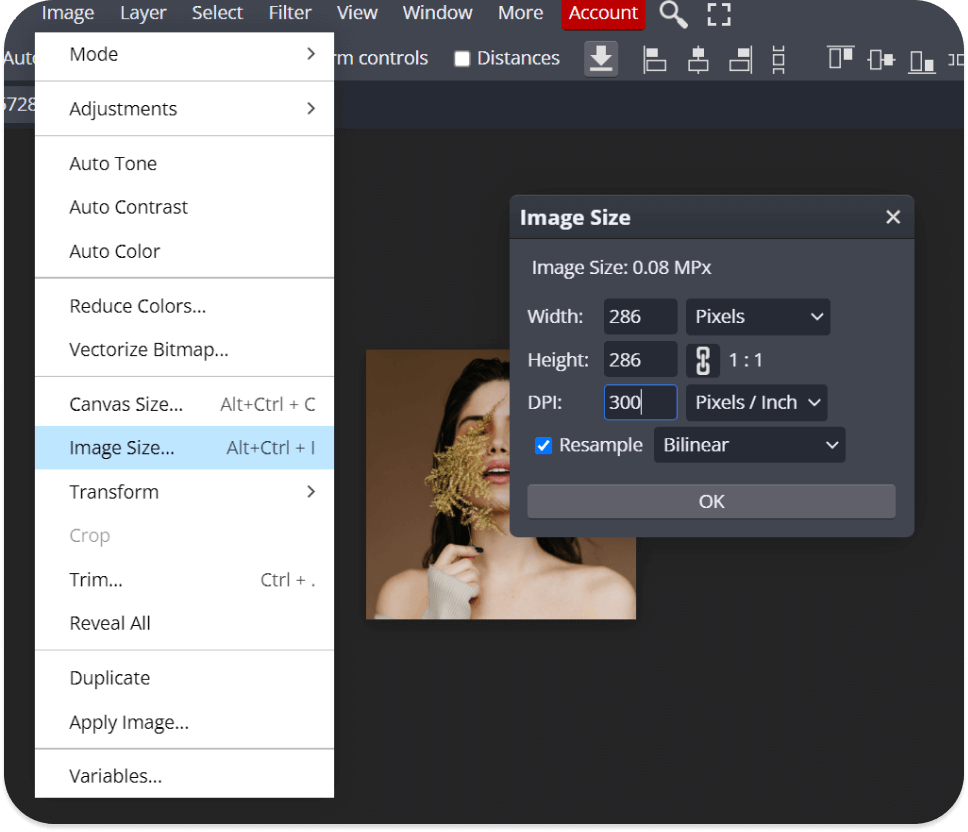
Step 3. Save the image and use it for your email signature.

Change DPI with Paint.NET
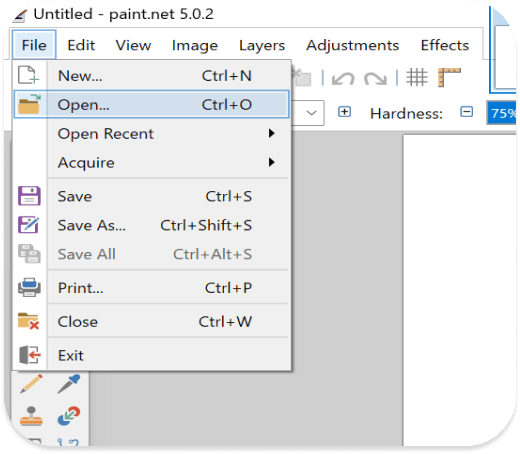
Step 1. Open the image.
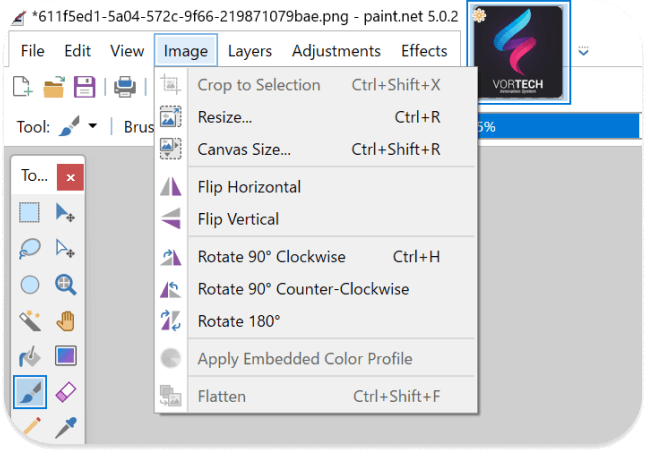
Step 2. On the top menu bar, choose Image > Resize.
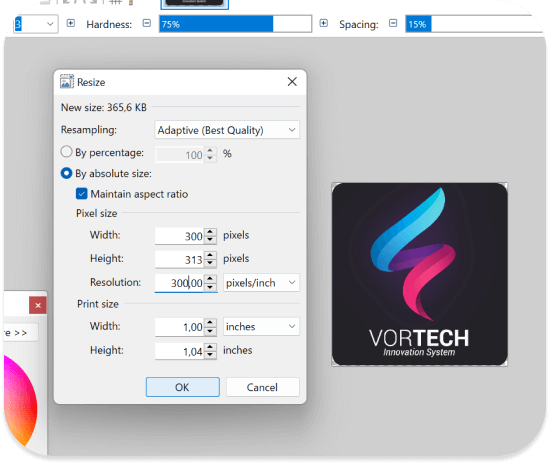
Step 3. Change the Resolution to 300 pixels/inch and click OK.
Step 4. Save the image.
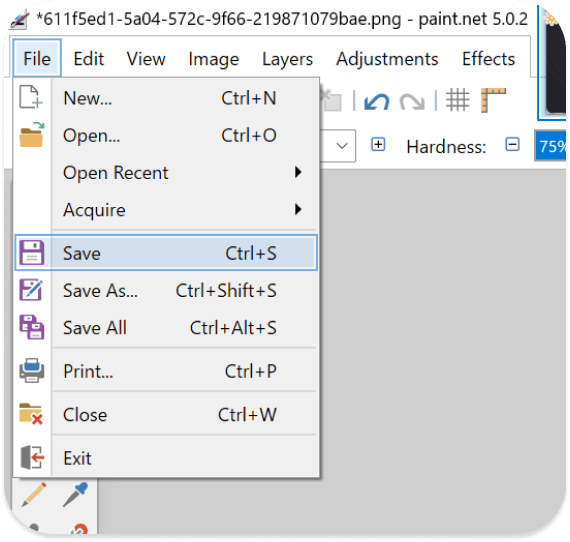
Step 5. The image must be uploaded to the signature template again.
Note: It is good practice to use a simple naming convention for the images when editing them. For example, the original image could be called “logo_original.png” when you re-size the image, you would want to name this “logo_100x100.png”. This allows you to identify the re-sized image quickly.
Best email signature examples for inspiration
Choose any and click to start creating your signature!


Are You Ready to Create Your Email Signature?
MySignature makes creating a professional email signature quick and easy. It allows users to add images and links to their signatures, so you can incorporate relevant branding, contact information, or other details in your signature without having to manually code HTML or create a complicated signature design.